Looking to freshen up your look without the salon price tag? We’ve got you covered! DIY hair highlights at home without foil aren’t just possible—they’re easier than you might think. With the right tools and techniques, you’ll achieve those sun-kissed strands you’ve been dreaming of, all from the comfort of your bathroom.
Why DIY Hair Highlights Without Foil Is the Budget-Friendly Option
Salon highlights typically cost between $75 and $350 depending on your location and hair length, making DIY methods an attractive alternative for budget-conscious beauty enthusiasts. Professional colorists charge premium rates for their expertise, but you can achieve similar results at home for just $20-30 worth of supplies. The elimination of foil from your highlighting process further reduces expenses since you won’t need to purchase special materials that are only used once.
Time savings also translate into economic benefits when highlighting at home without foil. Most DIY highlighting sessions take 1-2 hours total, compared to 3-4 hours at a salon when you account for travel and waiting time. You’ll gain flexibility to touch up your highlights whenever needed without scheduling appointments weeks in advance or paying for last-minute bookings.
Long-term maintenance becomes significantly more affordable with the foil-free approach. Touch-ups every 4-6 weeks at a salon would cost $45-75 each time, while DIY touch-ups might cost less than $10 using leftover products. Many home highlighting kits contain enough product for multiple applications, effectively spreading the cost across several months of maintenance.
Learning this skill also provides lasting financial benefits beyond your immediate styling needs. Once you’ve mastered foil-free highlighting techniques, you can help friends and family members with their hair, potentially saving your entire household thousands of dollars annually on beauty services. The techniques themselves often become easier and more refined with practice, leading to increasingly professional-looking results over time.
Essential Tools and Products for At-Home Highlighting
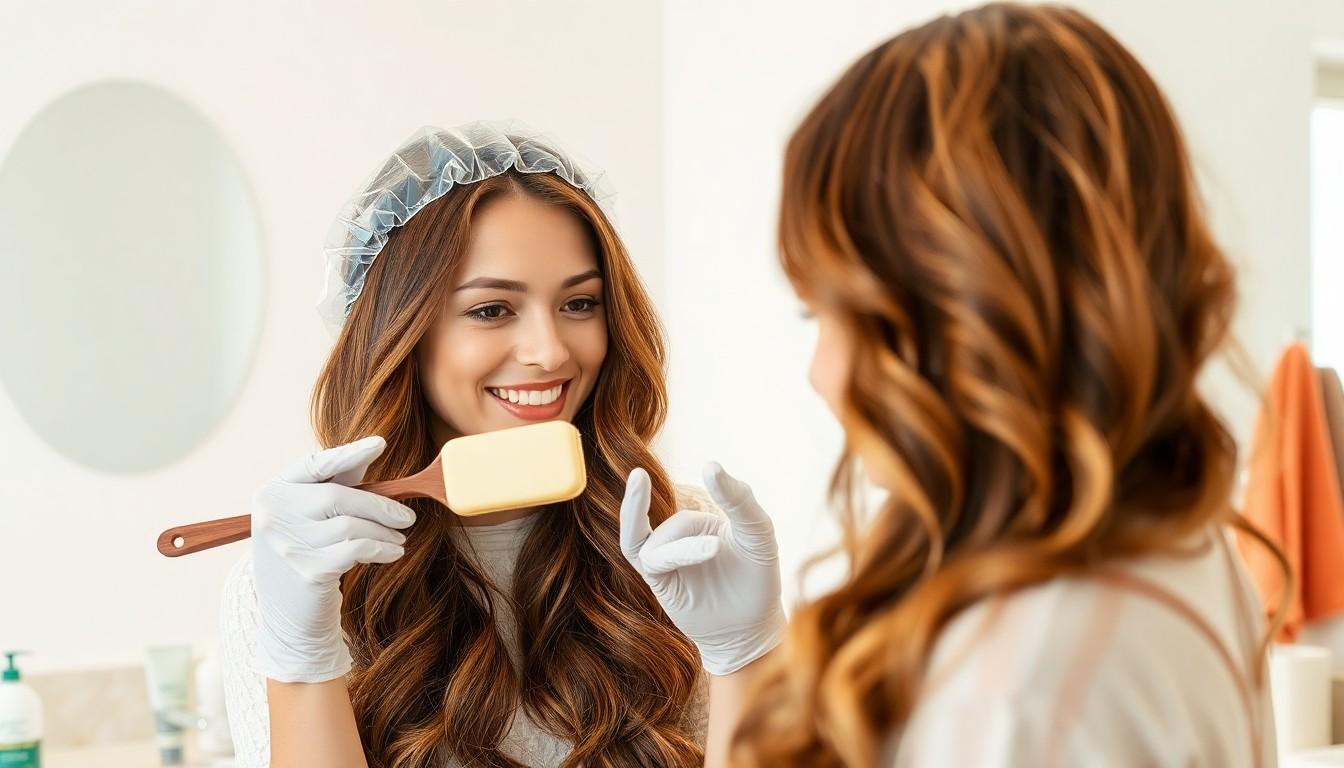
Creating beautiful highlights without foil requires exact tools and products to achieve salon-quality results at home. We’ve compiled everything you’ll need for successful DIY highlighting.
Color Selection Tips for Natural-Looking Results
Selecting the right shade is crucial for natural-looking highlights, ideally choosing colors only 1-2 levels lighter than your natural hair color. Your skin tone plays a important role in determining the most flattering highlight shades—cool skin tones pair beautifully with ash or blue-based highlights, while warm skin tones complement golden or honey-based highlights. Achieving natural gradation requires mastering the balayage technique, which creates soft, sun-kissed highlights by feathering the color upward from mid-lengths to ends. This technique avoids harsh lines at the roots and results in a more natural, lived-in look that grows out gracefully. Professional colorists recommend focusing on areas that would naturally lighten from sun exposure for the most authentic results.
Gathering Your DIY Highlighting Kit
Your DIY highlighting kit should include essential tools like a highlighting brush or toothbrush for precise application, especially when attempting balayage techniques. Hair clips are necessary for sectioning your hair, allowing you to work methodically through each area without confusion. Protective gear such as gloves and a plastic cape or old shirt will prevent staining your hands and clothes during the process. Product-wise, you’ll need a highlighting kit or bleach with developer (mixed according to package instructions), optional color depositor or toner for achieving exact shades, and quality shampoo and deep conditioner for pre and post-highlighting hair care. Preparation involves washing your hair the day before highlighting—not freshly washed but not overly greasy—as this optimal condition helps the color adhere better. Application requires dividing your hair into four sections (two front, two back), then carefully applying the highlighting product using sweeping motions, focusing on outer layers and feathering upward to create dimension. Processing time varies, but checking color development every 10-15 minutes ensures you achieve your desired lightness without damaging your hair.
Preparing Your Hair for Highlighting Success
Creating beautiful highlights at home starts with proper preparation. The condition of your hair before applying color significantly impacts your results, so taking time for these preparatory steps is crucial.
Pre-Highlighting Hair Care Routine
- Time your wash carefully – Wash your hair the day before highlighting, not the same day. Hair with natural oils present (slightly “dirty” hair) holds color better and provides some protection during the lightening process.
- Avoid chemical treatments – Stay away from perms, relaxers, or other chemical services for at least two weeks before highlighting. These treatments can compromise your hair’s integrity and lead to uneven color results.
- Focus on moisture – Use deep conditioning treatments in the week leading up to highlighting. Well-hydrated hair accepts color more evenly and withstands the lightening process better.
- Skip styling products – On the day of highlighting, ensure your hair is free from hairspray, mousse, gel, or other styling products that might create barriers to color absorption.
- Perform a strand test – Test your chosen highlighting product on a small, inconspicuous section of hair to confirm the processing time and final color before committing to your entire head.
Section Planning for Dimensional Results
- Create a four-part division – Divide your hair into four main sections: two in front and two in back. This organization makes the highlighting process methodical and helps ensure even application.
- Secure with clips – Use sectioning clips to keep untreated hair out of the way while you work on exact sections. Butterfly clips or alligator clips work particularly well for this purpose.
- Plan your highlight placement – Before applying any product, decide where you want the highlights to appear. Frame the face with brighter pieces and place highlights where the sun would naturally lighten your hair for the most authentic look.
- Work in small subsections – Within each main section, create smaller subsections for application. Thinner sections will process more quickly and evenly than thick chunks of hair.
- Use vertical strokes – Apply the highlighting product using vertical, sweeping motions, feathering upward toward the roots. This technique creates that seamless transition from your natural color to lighter shades without harsh lines.
- Consider the balayage technique – For the most natural effect, try hand-painting the color onto selected strands using a highlighting brush or clean toothbrush. Focus on mid-lengths and ends, softly blending upward for dimensional results.
The Top 5 Foil-Free Highlighting Techniques for Beginners
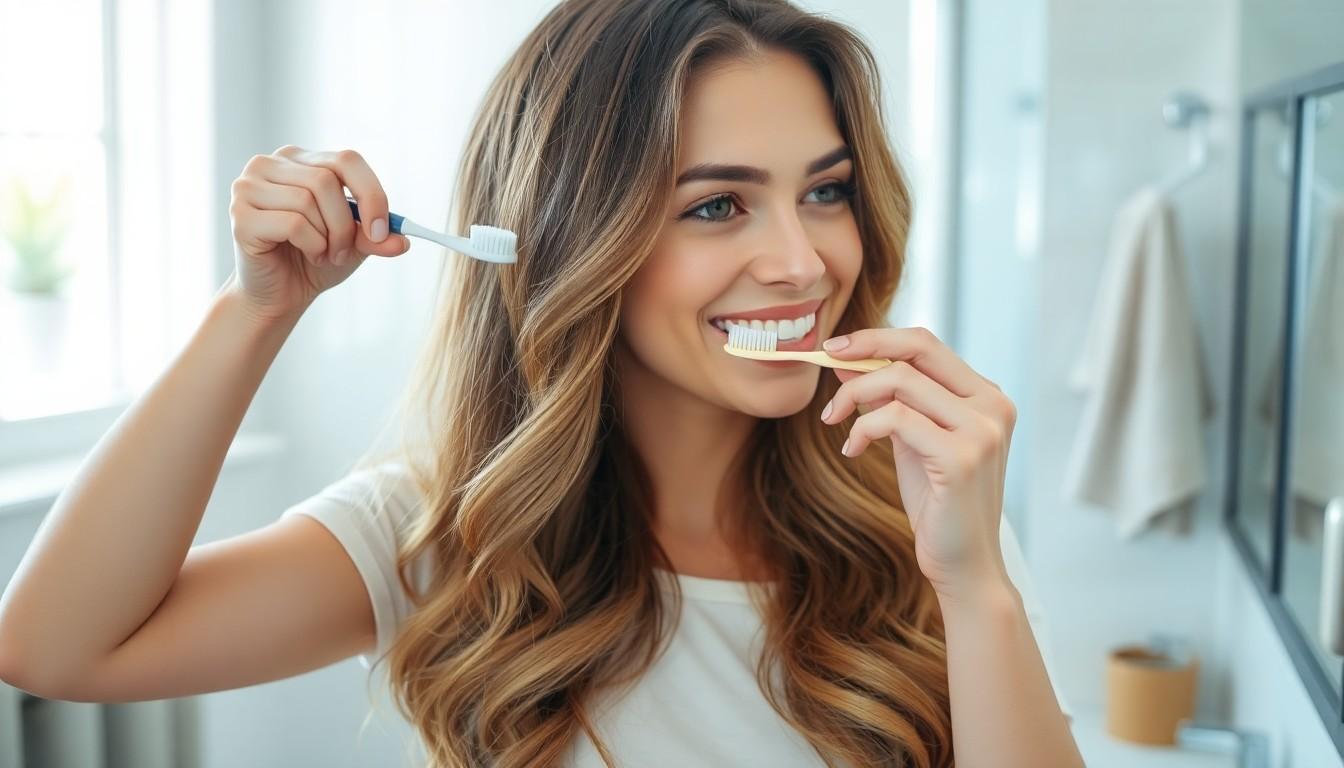
Ready to create salon-worthy highlights without the fuss of foil? These five techniques offer easy ways to achieve beautiful, natural-looking highlights from the comfort of your own home.
The Balayage Hand-Painting Method
Balayage creates natural, sun-kissed highlights by hand-painting color directly onto your hair. Wash your hair the day before application to ensure better color adhesion. Mix your lightening product according to package instructions, then section your hair into four manageable parts. Take a highlighting brush or clean toothbrush and paint the bleach onto mid-lengths and ends of small sections, focusing primarily on the outer layers for a more dimensional look. Always feather the product upward toward the roots using vertical strokes to avoid harsh lines. Check your color development every 10-15 minutes before rinsing thoroughly and applying a deep conditioner to nourish your newly highlighted strands.
The Cap Highlighting Technique
The cap method offers precision highlighting without foil by using a special highlighting cap placed over your head. Pull small sections of hair through the holes in the cap using a plastic hook tool that typically comes with highlighting kits. Apply your lightening product only to these pulled-through strands for controlled application. This technique works exceptionally well for creating evenly distributed highlights throughout your hair. Remove the cap carefully after the recommended processing time to avoid tangling your newly highlighted strands. While slightly cumbersome for beginners, this method provides consistent results that mimic professional highlights.
The Pull-Through Method Using a Tail Comb
The pull-through technique gives you precise control over highlight placement using just a tail comb. Section your hair strategically based on where you want highlights to appear. Use the pointed end of your tail comb to weave through small sections of hair, separating strands you want to lighten. Apply the highlighting solution directly to these selected strands with a brush, ensuring even coverage from roots to ends. This method allows for customized placement without the hassle of foil sheets. Keep track of which sections you’ve already highlighted by clipping processed hair away from untreated areas.
The Ombré Dip-Dye Technique
Ombré highlighting creates a beautiful gradient effect from darker roots to lighter ends without needing foil precision. Section your dry hair into four parts and secure with clips. Apply lightener starting about midway down your hair shaft, increasing the amount as you move toward the ends. Work the product through with your fingers or a brush to ensure a gradual transition between your natural color and the lighter ends. This technique proves especially forgiving for beginners since it doesn’t require precise placement or sectioning. Process according to recommended times, checking frequently to achieve your desired contrast level.
The Toothbrush Application Method
The toothbrush method offers incredible precision for subtle, targeted highlights without professional tools. Use a clean, unused toothbrush to apply lightener exactly where you want brightness, such as around your face or on the very top layers. Section your hair carefully and brush the lightener onto small strands using gentle, downward strokes. This technique works perfectly for creating face-framing highlights or refreshing grown-out highlights at the roots. The small brush head allows for controlled application that prevents bleach from spreading to unwanted areas. For natural-looking results, focus on applying to the sections that would naturally catch sunlight.
Step-by-Step Guide to Applying Highlights Without Foil
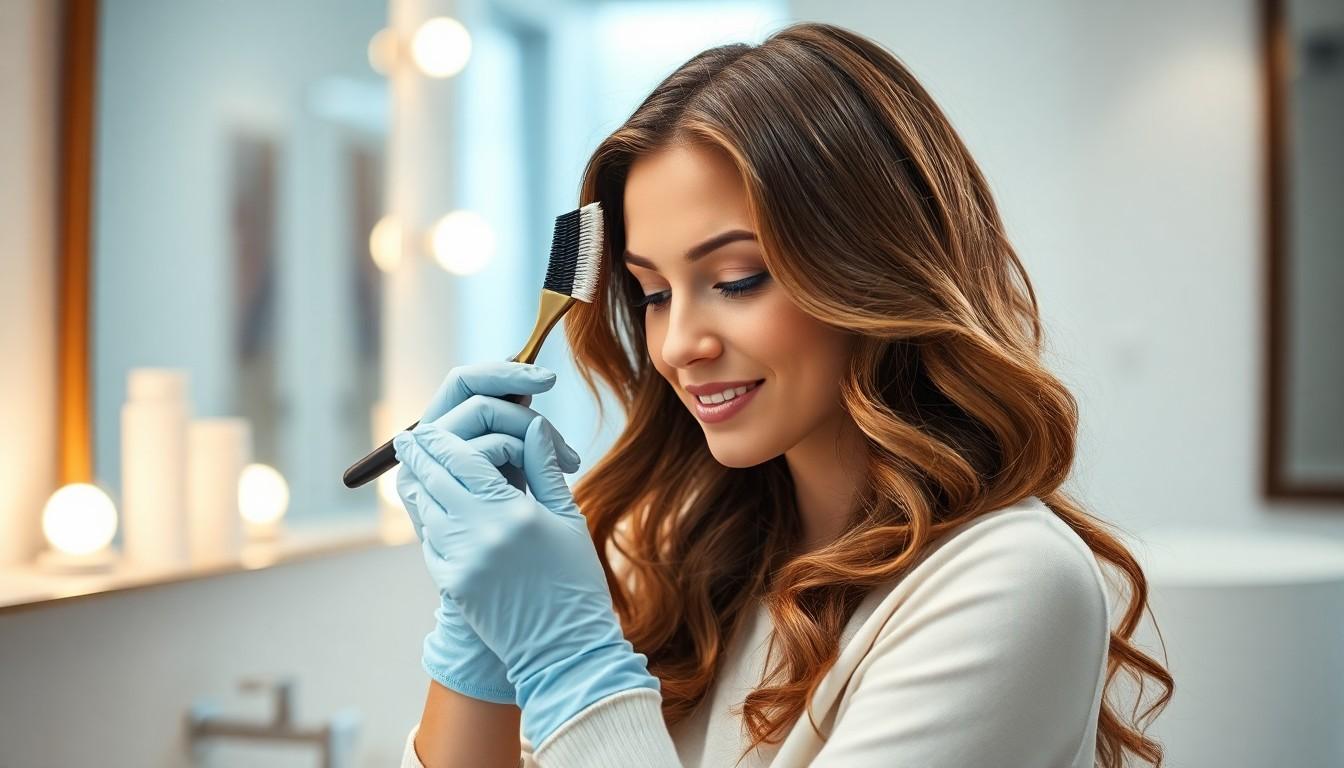
Now that you’ve chosen your technique, let’s jump into the actual process of creating gorgeous highlights at home without using foil.
Mixing Your Developer and Color
Properly mixing your highlighting solution is crucial for achieving professional-looking results. Start by selecting a well-ventilated area to work in, as bleach products can emit strong fumes. Always wear protective gloves to shield your skin from harsh chemicals. Pour the developer and lightening powder into a non-metallic bowl according to the package instructions, typically using a 1:2 ratio. Mix thoroughly until you achieve a smooth, yogurt-like consistency without any lumps. Remember to prepare only what you’ll need for immediate use, as the mixture begins losing effectiveness shortly after being combined. Check that your mixture isn’t too runny (which can cause dripping) or too thick (which makes application difficult).
Application Techniques for Different Hair Types
Different hair textures require exact approaches for optimal highlighting results. For fine or thin hair, use a lighter hand when applying the bleach to prevent over-processing. Focus primarily on the mid-lengths and ends rather than the roots, as fine hair processes color more quickly and can become damaged easily. Apply the product sparingly using gentle strokes with your highlighting brush.
For thick or curly hair, section your hair more meticulously to ensure even coverage throughout your locks. You’ll need to work with smaller sections than you would with straight hair. Apply a bit more product to ensure proper saturation, but remain cautious about over-processing, as curly hair tends to be naturally drier. Consider stretching or straightening small sections as you apply the lightener for more even results.
When touching up roots without foil, precision becomes essential. Using a small application brush, carefully paint the color directly onto visible roots, maintaining a small distance (about 1/8 inch) from the scalp to prevent irritation. Work methodically in rows to avoid overlapping previously colored areas or missing spots. This technique works particularly well for maintenance between full highlighting sessions.
For all hair types, always perform a strand test before full application. This test helps determine the exact processing time needed for your exact hair texture and ensures you’ll achieve your desired level of lightness without damage. Remember to check your developing highlights every 10-15 minutes by wiping a small amount of product away to assess the color.
After-Care Tips to Maintain Your DIY Highlights
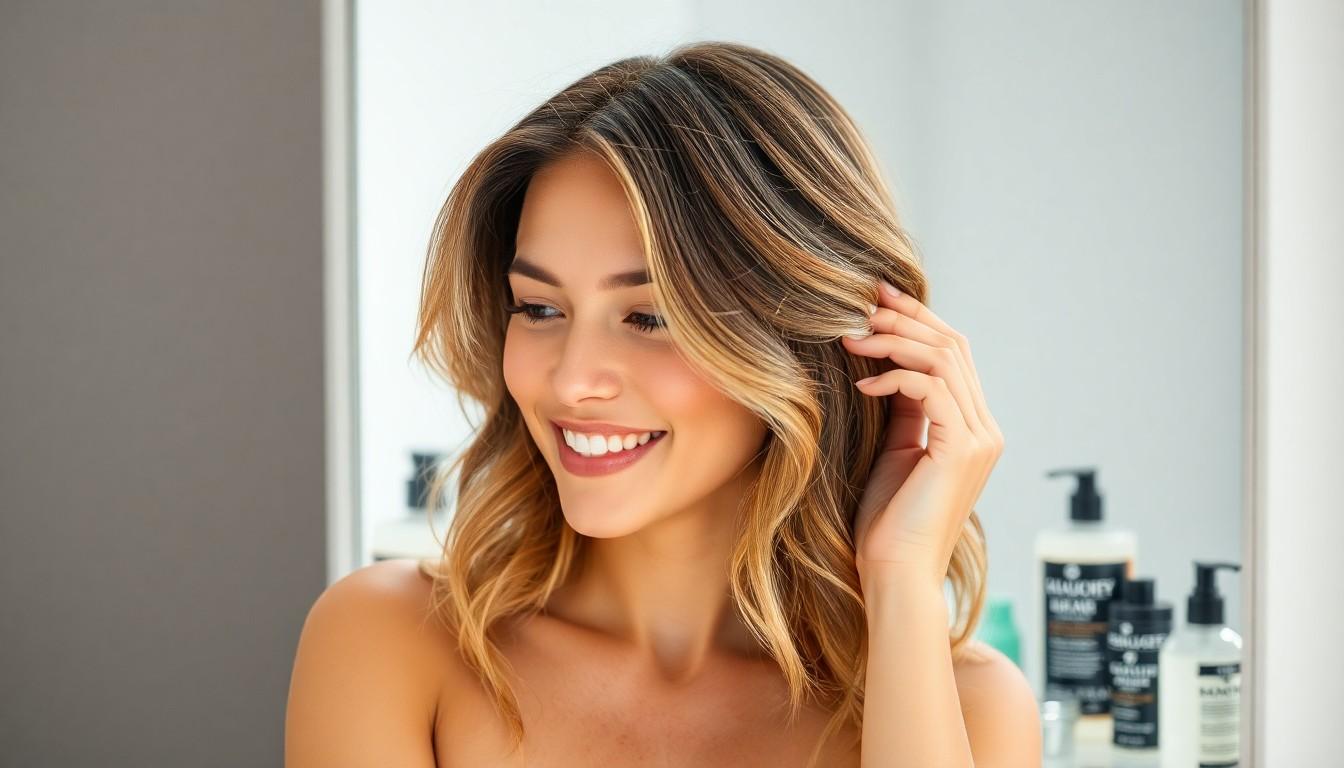
Keeping your at-home highlights looking fresh and vibrant requires proper maintenance and care. With the right techniques and products, you can extend the life of your DIY highlighting job for weeks to come.
Immediate Care
Proper aftercare begins immediately after rinsing out your highlighting solution. Apply a deep conditioner right away and leave it on for at least 15-20 minutes to restore moisture to your freshly highlighted strands. Avoid hot water during the first few days after highlighting, as warm or cool water will help minimize color fade and lock in your new shade. Reduce heat styling whenever possible, or make sure to use a quality heat protectant spray before blow-drying, straightening, or curling to prevent damage and preserve your color investment.
Long-Term Care
Maintaining beautiful highlights involves ongoing attention to your hair care routine. Use color-protecting shampoos and conditioners specifically formulated for highlighted hair to lock in both color and moisture. Add a weekly color-depositing treatment to your regimen to maintain the vibrancy of your highlights between touch-ups. Schedule regular trims every 6-8 weeks to prevent split ends and breakage, which can make your highlights look dull and damaged over time.
Color-Safe Products for Longer-Lasting Results
Investing in the right products makes all the difference in maintaining your DIY highlights. Sulfate-free shampoos and conditioners are essential for colored hair, as sulfates strip away not only dirt but also your carefully applied color, leading to faster fading. Choose specialized color-protecting treatments containing antioxidants, vitamins, and plant extracts that lock in color while nourishing your strands. Select styling products labeled as color-safe without harsh chemicals that can damage your hair or cause premature color fading.
Weekly Maintenance Tips for Vibrant Highlights
Maintaining vibrant highlights requires consistent weekly care. Apply a color-depositing mask once every 7 days, leaving it on for 15-30 minutes before rinsing to refresh your highlight tones between colorings. Use a hydrating mask or deep conditioner weekly to keep your hair moisturized, healthy, and better able to retain color. Limit washing your hair to just 2-3 times per week, as over-washing accelerates color fading—when you do wash, use cold water to seal the cuticle and preserve your color. Protect your highlighted hair from sun exposure by wearing a hat or using hair products with SPF, as UV rays can quickly fade your carefully created highlights.
Common DIY Highlighting Mistakes and How to Fix Them
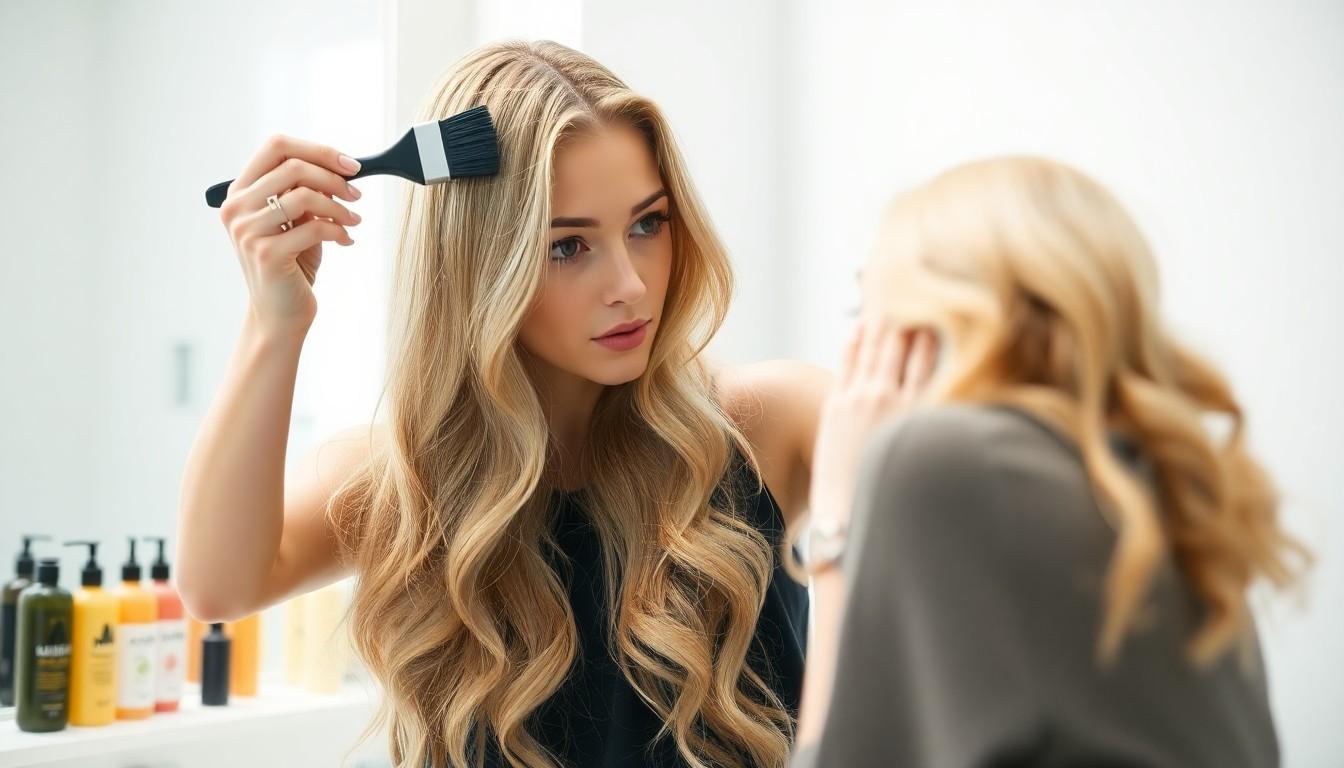
1. Incorrect Hair Preparation
DIY highlighting requires proper hair preparation to achieve salon-quality results. Many beginners make the mistake of highlighting hair that’s either too clean (freshly washed) or too greasy. For optimal color adherence, wash your hair the day before highlighting rather than immediately before. Hair with some natural oils actually holds color better and provides a protective barrier against potential damage from lightening agents.
2. Improper Sectioning
Uneven highlights often result from inadequate sectioning techniques during application. To avoid this common mistake, divide your hair into four clear sections—two in front and two in back—using secure hair clips. Working methodically with one section at a time ensures more consistent application and prevents missed spots or overly concentrated areas that can look unnatural.
3. Inadequate Mixing of Lightening Product
Failing to properly mix your highlighting solution leads to unpredictable results. Always follow the manufacturer’s instructions precisely when combining bleach and developer. Measure components carefully using the provided tools and ensure the mixture is thoroughly blended to a smooth, consistent texture before beginning application to avoid streaky or patchy results.
4. Incorrect Application Technique
Applying lightener too heavily or in inappropriate patterns creates harsh, unnatural-looking highlights. Use a highlighting brush or clean toothbrush to lightly paint the bleach onto small hair sections, focusing primarily on the mid-lengths and outer layers. Create more natural-looking dimension by using vertical strokes that feather the product toward the roots, avoiding harsh lines of demarcation that signal an at-home job.
5. Insufficient or Excessive Processing Time
Monitoring processing time carefully prevents the disappointment of under or over-processed highlights. Check your hair color’s development every 10-15 minutes by wiping the product off a small section with a damp cloth. This regular assessment helps you achieve your desired level of lightness without risking damage from leaving the product on too long.
6. Lack of Post-Color Care
Neglecting proper aftercare significantly impacts the longevity and health of your highlights. Thoroughly rinse out all bleach once you’ve reached your desired color level. Apply a deep conditioning treatment immediately afterward to restore moisture and strengthen hair bonds affected by the chemical process. Regular maintenance with color-safe products helps preserve your highlights for weeks longer.
Techniques to Avoid These Mistakes
The balayage technique offers a foolproof method for creating natural-looking highlights without foil. This hand-painting approach requires maintaining good tension in each hair section while applying lightener in sweeping motions. Keep your brush clean throughout the process for more precise application and blend the product seamlessly for a sun-kissed effect.
Freehand painting works exceptionally well for beginners seeking subtle dimension. Apply lightener directly to the hair in small, sweeping strokes, maintaining consistency from roots to ends. This technique requires minimal tools and creates a soft, blended highlight effect that looks professionally done without the technical challenges of foil placement.
When to Skip DIY and See a Professional
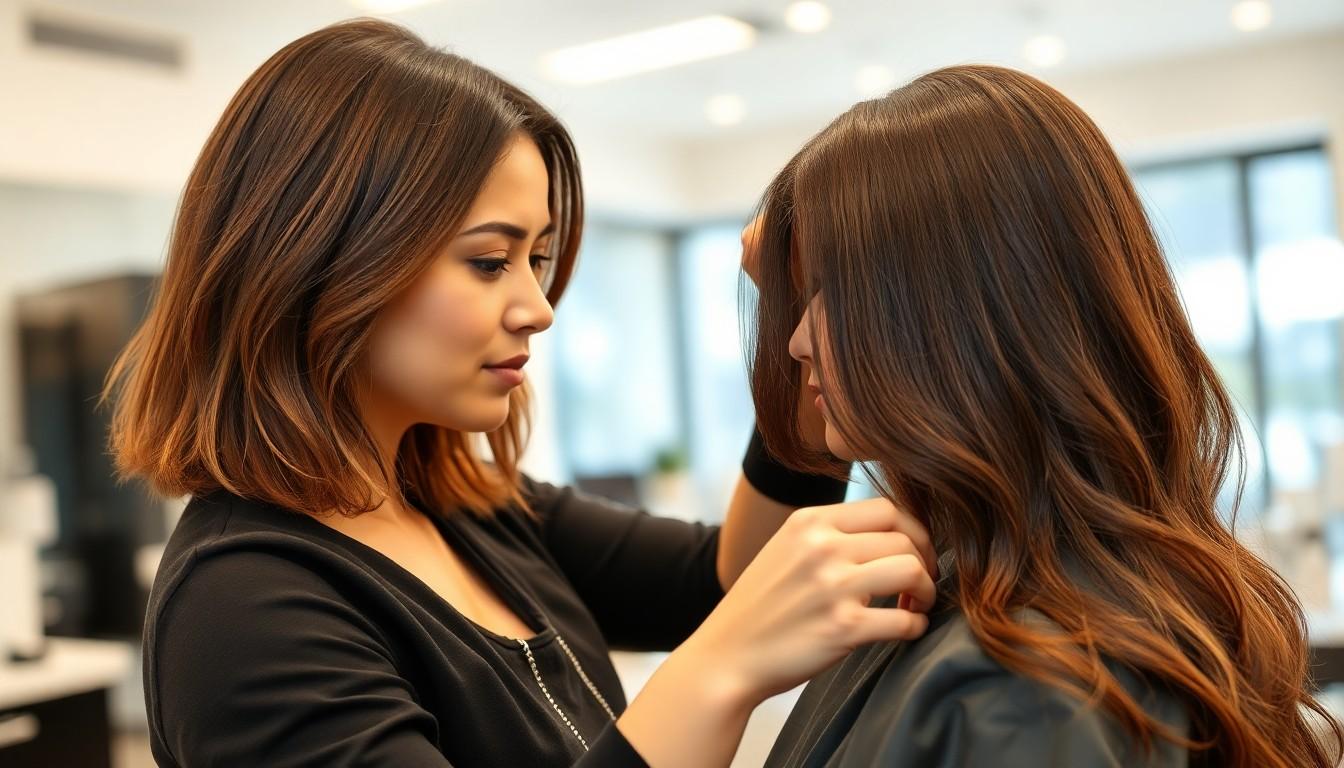
While DIY hair highlighting can save you time and money, there are exact situations when professional salon services are the wiser choice. Let’s explore the five scenarios where booking an appointment with a stylist is the better option for your hair health and desired results.
Complex Color Changes
Going from dark to light or achieving multi-dimensional color requires professional expertise. Hair colorists have extensive training in managing important color transitions and can prevent the brassy or uneven results that often plague DIY attempts. Professional stylists understand color theory and can create customized highlighting formulas specifically for your hair type and desired outcome.
Previous Color Treatments
Hair that’s been previously colored, bleached, or chemically treated presents unique challenges for highlighting. Multiple layers of color treatments can interact unpredictably with new lightening products, potentially causing uneven results or damage. Professional colorists can accurately assess your hair’s history and condition to select appropriate products and techniques that work with your existing color.
Hair Damage
Already damaged or fragile hair requires extra caution during the highlighting process. Attempting to highlight compromised hair at home could lead to breakage, excessive dryness, or even hair loss. Professional stylists have access to premium, less-damaging lightening products not available to consumers and can carry out specialized techniques to minimize further damage while still achieving beautiful highlights.
Desire for Precision
Creating exact highlighting patterns like babylights, sombré, or face-framing highlights demands precision and technical skill. Professionals have mastered techniques that allow for controlled application and perfect placement of highlights. Their expertise enables them to create customized looks that complement your facial features and enhance your natural coloring.
Uncertainty or Lack of Experience
First-time highlighters or those unfamiliar with hair coloring processes should consider professional services. Mistakes with DIY highlighting can be costly and time-consuming to correct. Professional colorists not only execute the service correctly but also provide valuable education about maintaining your new highlights and caring for your hair between appointments.
Recognizing when to seek professional help ensures you achieve the highlight results you desire without compromising your hair’s health or appearance. We recommend consulting with a stylist if you identify with any of these scenarios to determine the safest, most effective approach to highlighting your hair.
Conclusion: Achieving Salon-Quality Highlights at Home
Creating gorgeous highlights at home without foil isn’t just possible—it’s remarkably achievable with the right approach. We’ve shown you how these DIY techniques can save hundreds of dollars while giving you the freedom to refresh your look whenever inspiration strikes.
Remember that practice makes perfect. Your first attempt might not be salon-perfect but each time you’ll gain confidence and skill. The beauty of these foil-free methods is their forgiving nature and natural-looking results.
With proper preparation tools and aftercare your highlights can look professional and stay vibrant for weeks. Whether you choose balayage cap highlighting or one of our other recommended techniques you now have everything needed to transform your hair into a masterpiece of dimension and light.
Frequently Asked Questions
Can I highlight my hair at home without professional help?
Yes, you can highlight your hair at home with the right tools and techniques. DIY highlighting is cost-effective ($20-30 for supplies vs. $75-350 at salons) and convenient. With proper preparation, suitable products, and careful application, you can achieve salon-quality highlights in your own bathroom in just 1-2 hours. The key is selecting the right shade and using techniques like balayage for natural-looking results.
What tools do I need for DIY hair highlighting?
For DIY hair highlighting, you’ll need a highlighting brush, hair clips for sectioning, protective gloves, a highlighting kit or bleach with developer, and a wide-tooth comb. Optional but helpful items include a plastic cap (for cap highlighting), a tail comb (for pull-through method), and a timer to track processing time. Having all tools ready before starting ensures a smoother process.
How do I choose the right highlight color for my hair?
Select a highlight color that’s 1-2 shades lighter than your natural hair color for the most natural look. Consider your skin tone: warm tones (golden, honey) complement olive or yellow undertones, while cool tones (ash, platinum) suit pink or blue undertones. Perform a strand test before full application to confirm the color works well with your hair and to determine processing time.
What is the balayage technique and why is it recommended?
Balayage is a French word meaning “to sweep” and refers to a freehand painting technique that creates soft, natural-looking highlights without harsh lines. It’s recommended for DIY highlighting because it’s more forgiving than traditional foil methods, allows for customized placement, creates a graduated, sun-kissed effect, and requires less precision. This technique is perfect for beginners seeking natural results.
How should I prepare my hair before highlighting?
Prepare your hair by avoiding chemical treatments for at least two weeks before highlighting. Wash your hair the day before (not the day of) to allow natural oils to protect your scalp. Apply deep conditioning treatments in the week leading up to highlighting to ensure your hair is well-moisturized. Perform a strand test to determine processing time and confirm your desired color result.
What are some foil-free highlighting techniques for beginners?
Beginners can try several foil-free techniques: 1) Balayage hand-painting for natural, sun-kissed highlights; 2) Cap highlighting by pulling strands through a plastic cap; 3) Pull-through method using a tail comb to select and paint sections; 4) Ombré dip-dye technique for graduated color from ends to mid-lengths; 5) Toothbrush application for fine, delicate highlights that mimic natural sun-lightening.
How long should I leave the highlighting solution on my hair?
Processing time varies based on your hair type, desired lightness, and product used. Generally, leave the solution on for 15-45 minutes, checking every 5-10 minutes after the initial 15 minutes. Fine or pre-lightened hair processes faster than dark or coarse hair. Always follow product instructions and perform a strand test beforehand to determine your optimal processing time.
How do I fix highlighting mistakes at home?
To fix highlighting mistakes: 1) For too-light sections, use a toner or color-depositing conditioner to darken them slightly; 2) For brassy tones, apply a purple or blue shampoo; 3) For uneven application, wait 2 weeks then add more highlights to balance; 4) For harsh lines, soften with a toning glaze. If mistakes are significant, wait 2-4 weeks before attempting corrections to minimize damage.
What aftercare is needed for DIY highlights?
After highlighting, apply a deep conditioner immediately and avoid hot water for several days. Use color-protecting shampoo and conditioner, and incorporate weekly protein treatments to strengthen your hair. Limit heat styling and always use heat protectant products. Schedule regular trims to prevent damaged ends, and consider using color-depositing products to maintain tone between touch-ups.
When should I seek professional help instead of DIY highlighting?
Seek professional help when: 1) Making dramatic color changes (going more than 2-3 shades lighter); 2) Working with previously colored or chemically treated hair; 3) Dealing with significantly damaged hair; 4) Wanting precise, complex highlighting patterns; or 5) Experiencing uncertainty about the process. Professional stylists have the expertise to handle complicated color situations while maintaining hair health.


