Looking for a hairstyle that delivers both volume and polish? Blowout hairstyles for women have remained a timeless favorite for good reason. We’ve seen this versatile styling technique evolve from salon-exclusive luxury to an achievable at-home option that transforms flat, lifeless hair into bouncy, voluminous looks that turn heads.
Whether you’re preparing for a special event or simply want to elevate your everyday appearance, mastering the perfect blowout can completely transform your look. From sleek and straight to full-bodied waves, the possibilities are endless. In this guide, we’ll walk you through the most stunning blowout styles trending right now, plus share professional techniques to help you recreate these gorgeous looks at home.
What Is a Blowout Hairstyle and Why It’s a Game-Changer
A blowout hairstyle is a professional hair drying technique that creates smooth, voluminous hair without the use of curling irons or straighteners. Unlike regular hair drying, blowouts involve strategic sectioning, precise brush work, and controlled heat application to transform your natural texture into a polished, long-lasting style. The process typically starts with washing your hair with volumizing products, followed by rough-drying about 80% of the moisture out before section-by-section styling with round brushes.
Many women consider blowouts a game-changer because they deliver versatile results that work for virtually any hair type or length. The technique creates incredible volume at the roots while smoothing the cuticle, resulting in that coveted bounce and shine that’s difficult to achieve with other styling methods. Professional blowouts can last 3-5 days with proper maintenance, making them an excellent investment for special events or busy weeks.
The true magic of blowouts lies in their adaptability—they can be sleek and straight, feature soft waves, or incorporate dramatic volume depending on your preference. While traditionally performed in salons, modern tools like the Dyson Airwrap and Revlon One-Step have made at-home blowouts increasingly accessible to everyday women. This democratization of the blowout has revolutionized daily hair routines, allowing anyone to achieve salon-quality results without professional help.
10 Essential Tools for the Perfect Blowout at Home
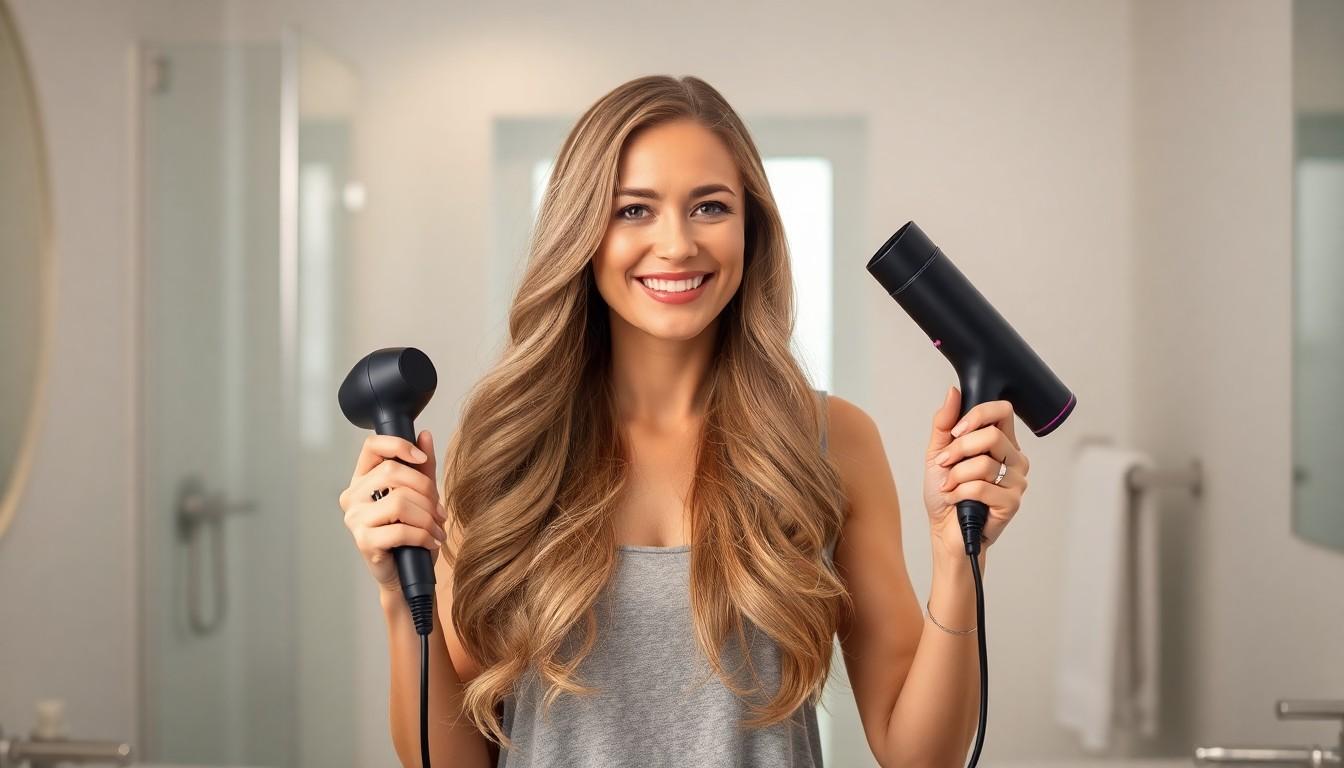
Achieving salon-quality blowouts at home requires the right arsenal of tools. With these essential items in your styling collection, you’ll be able to transform your hair from flat to fabulous in no time.
Professional-Grade Hair Dryers Worth the Investment
Professional-grade hair dryers are the foundation of any successful at-home blowout. These powerhouse tools typically feature higher wattage (1800-2000 watts) that significantly reduces drying time while minimizing heat damage. Look for dryers with multiple heat settings and a cool shot button to lock in your style. The Dyson Supersonic stands out with its digital motor and intelligent heat control that prevents extreme heat damage. T3 Cura LUXE offers excellent results with its digitally-controlled heat settings and auto-pause sensor. For those on a budget, the BaBylissPRO Nano Titanium provides professional performance at a more accessible price point. Investing in a quality dryer not only improves your blowout results but also protects your hair’s health in the long run.
Round Brushes and Their Impact on Your Blowout
Round brushes play a crucial role in creating that coveted volume and shape during your blowout process. Ceramic brushes distribute heat evenly while reducing frizz and static. Boar bristle brushes excel at gripping and smoothing the hair cuticle for maximum shine. Choose your brush size strategically based on your desired outcome—larger brushes (2-3 inches) create looser waves and more volume, while smaller brushes (1-1.5 inches) offer tighter curls and more precision for shorter styles. Brands like Olivia Garden, Drybar, and GHD offer excellent options with thermal ceramic barrels that retain heat effectively. Using sectioning techniques with your round brush helps manage the blowout process, allowing you to focus on one area at a time for more consistent results.
7 Classic Blowout Hairstyles for Women of All Ages

Blowout hairstyles transcend trends, offering timeless elegance for women across generations. These versatile styles can be customized to flatter any face shape, hair texture, or personal style preference.
The Voluminous ’90s Supermodel Blowout
The iconic ’90s supermodel blowout features maximum volume and dramatic bounce that instantly elevates any look. This glamorous style showcases expansive body throughout the crown and mid-lengths with softly curled ends that flip outward. Celebrities like Cindy Crawford and Jennifer Lopez continue to champion this voluminous look for red carpet events and special occasions. Creating this statement-making blowout requires sectioning hair into manageable portions and using a large round brush to create lift at the roots. Professional stylists recommend applying a volumizing mousse before drying and finishing with a light-hold hairspray to maintain the impressive height without sacrificing movement.
The Sleek and Straight Power Blowout
The sleek and straight power blowout delivers a polished, sophisticated look perfect for professional settings or minimalist style preferences. This refined technique focuses on creating glass-like smoothness with subtle movement at the ends for a natural finish. Fashion icons like Victoria Beckham and Jennifer Aniston have made this sleek blowout their signature look, demonstrating its timeless appeal. Achieving this style requires working with smaller sections of hair, using a paddle brush or flat brush to maintain tension while drying. Heat protectant products are essential for this technique, as the higher temperatures needed for smoothing can potentially damage hair fibers. Many women appreciate how this blowout style transitions seamlessly from office meetings to evening events with minimal touch-ups required.
The Bouncy Bob Blowout
The bouncy bob blowout transforms shorter cuts into ever-changing, voluminous styles that frame the face beautifully. This versatile technique works wonderfully on classic bobs, graduated cuts, and even longer lobs (long bobs). Celebrities like Kerry Washington and Reese Witherspoon frequently showcase this style, highlighting its youthful yet sophisticated energy. Creating the perfect bouncy bob requires precise sectioning and a medium-sized round brush to shape each layer for maximum movement. Stylists typically recommend a lightweight mousse or volumizing spray before drying to enhance body without weighing down shorter strands. Women with fine hair particularly benefit from this blowout style, as the technique creates the illusion of thicker, fuller hair.
The Natural-Looking Wavy Blowout
The natural-looking wavy blowout delivers effortless, lived-in texture that enhances natural hair patterns rather than completely transforming them. This relaxed style features soft waves and gentle movement that mimic the appearance of air-dried hair but with added polish and longevity. Stars like Jessica Alba and Blake Lively frequently sport this casual-chic look for both everyday outings and casual red carpet appearances. Achieving this effect involves using a medium round brush to create subtle bends throughout the hair rather than uniform curls. Products like texturizing sprays and lightweight styling creams help enhance natural texture while maintaining a touchable finish. Many women prefer this blowout variation for its versatility and low-maintenance appeal, requiring minimal styling between washes.
5 Celebrity-Inspired Blowout Looks to Try Today
Kate Middleton’s Royal Glossy Waves
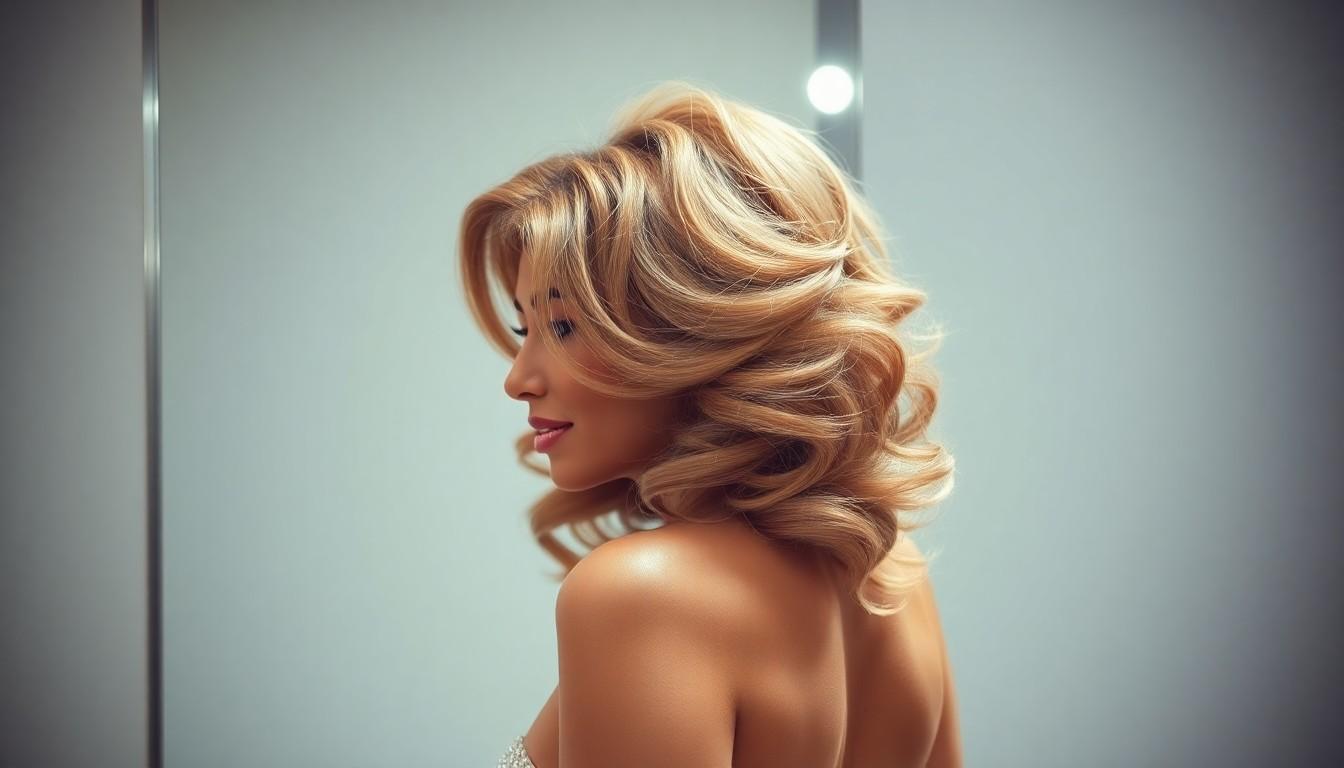
Kate Middleton’s signature blowout features glossy, bouncy waves that frame her face perfectly. The Duchess of Cambridge’s style combines sophisticated elegance with a touch of volume at the crown for that royal polish. Hair experts often note that her blowout focuses on creating shine and definition rather than excessive volume. To achieve this look, apply a heat protectant and volumizing mousse to damp hair before blow-drying with a medium-sized round brush. Work in sections from the bottom up, curling each section away from your face to create those signature waves. Finish with a lightweight shine spray and minimal hairspray to maintain movement while taming flyaways.
Jennifer Lopez’s Full-Body Bombshell Blowout
Jennifer Lopez’s iconic bombshell blowout delivers maximum volume and glamour that turns heads everywhere. Her voluminous style features incredible body throughout with soft, glamorous curves at the ends that catch the light beautifully. Celebrity stylists reveal that the key to J.Lo’s signature look lies in the strategic layering technique and generous root lift. Start by applying volumizing mousse to damp roots and blow dry upside down until hair is 80% dry. Divide hair into sections and use a large round brush to create tension while directing heat downward for smoothness. Focus on lifting at the roots and creating soft curves at the ends. Lock in the volume with a cool shot of air on each section before finishing with a flexible hold hairspray.
Zendaya’s Versatile Red Carpet Blowouts
Zendaya constantly reinvents blowout styles on red carpets, showcasing the technique’s remarkable versatility. Her hairstyles range from sleek, glass-like finishes to voluminous curls with incredible movement. Fashion magazines frequently highlight how she adapts blowout techniques to complement various hair textures and lengths. Apply a heat protectant serum to damp hair before sectioning for the most adaptable foundation. Blow dry with tension using a paddle brush for straighter styles or a round brush for more volume and curve. Control the direction of your brush to determine the final look—downward for sleekness or upward for volume. Experiment with different styling products like smoothing creams for sleeker finishes or volumizing sprays for fuller effects, just as Zendaya’s stylists do for her constantly evolving looks.
How to Maintain Your Blowout for Up to 5 Days
Achieving a perfect blowout is just half the battle – making it last is where the real challenge begins. With proper care and strategic maintenance, you can extend your beautiful blowout from just one day to a full five days of gorgeous, voluminous hair.
Overnight Blowout Preservation Techniques
Protecting your blowout while you sleep is crucial for maintaining its shape and bounce. Start by gathering your hair into a loose, high bun secured with a silk scrunchie, which minimizes friction and prevents creasing. Silk or satin pillowcases create a smooth surface for your hair to glide over, significantly reducing frizz and preserving your style through the night. For extra protection, wrap your hair in a silk scarf or bonnet before bed, completely encasing your blowout to shield it from the friction caused by tossing and turning. Many professional stylists recommend using pin curls for overnight storage – section your blowout into 4-6 parts, loosely curl each section around your finger, and secure with bobby pins for effortless morning waves. Temperature management plays an important role too, as keeping your bedroom cool helps minimize sweat that can sabotage your blowout’s longevity. Morning touch-ups require minimal effort when you’ve properly preserved your style overnight – simply let your hair down, shake it out gently, and apply a small amount of lightweight styling cream to the ends if needed.
Dry Shampoo Strategies for Extended Wear
Mastering dry shampoo application is the secret weapon for multi-day blowout maintenance. Apply dry shampoo proactively before bed on day one, rather than waiting for oiliness to appear, creating a protective barrier that absorbs oils throughout the night. Sectioning your hair before application ensures even distribution and maximum effectiveness – lift small sections and spray the product directly at the roots from about 10 inches away. Focus application on your oil-prone areas, typically the crown, hairline, and behind the ears, where sebum production tends to be highest. Brunettes should select specialized formulas for dark hair to avoid the telltale white residue that can make hair look dull or gray. After spraying, massage the product into your scalp using your fingertips to fully activate the oil-absorbing ingredients and eliminate any visible powder. Allow the dry shampoo to sit for 2-3 minutes before brushing it through, giving it time to absorb excess oils completely. Professional stylists recommend switching up your part slightly each day to prevent product buildup in one exact area and maintain consistent volume throughout your blowout’s lifespan. For maximum longevity, combine dry shampoo with a refreshing blast of cool air from your hair dryer, holding your head upside down to revive volume at the roots.
Blowout Hairstyles for Different Hair Textures
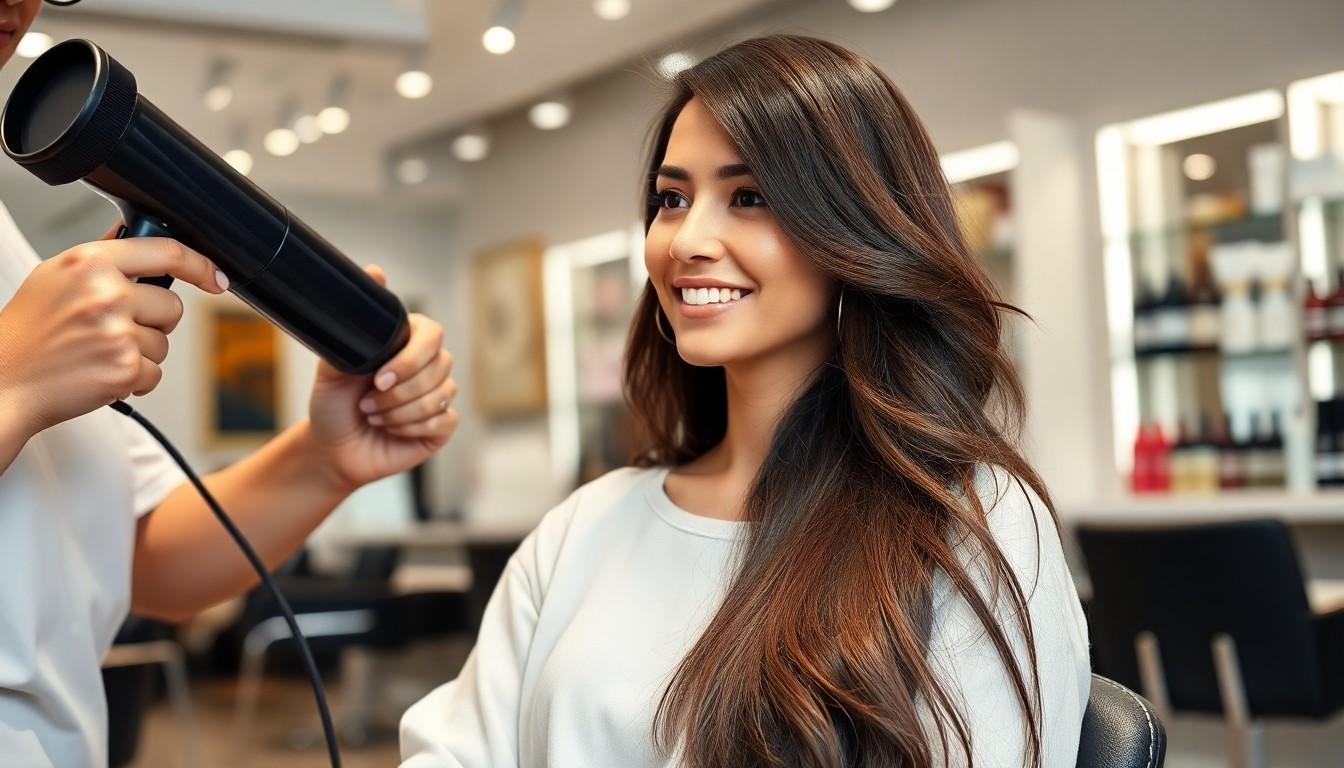
Achieving the perfect blowout requires tailoring techniques to your exact hair texture. Every hair type demands unique approaches to maximize results while minimizing potential damage.
Blowout Techniques for Curly and Coily Hair
Curly and coily hair textures require specialized blowout techniques to achieve smooth, voluminous results without causing damage. Start by washing with a hydrating shampoo and applying a heat protectant designed specifically for curly hair types. Detangle thoroughly using a wide-tooth comb while the hair is still wet to minimize breakage. For optimal results, divide your hair into 4-6 sections using clips before beginning the drying process. Apply a quarter-sized amount of anti-frizz cream or smoothing serum to each section to combat frizz and lock in moisture.
When blow-drying curly hair, the tension method works exceptionally well – use a round brush to pull each section taut while directing heat downward along the hair shaft. Many professional stylists recommend the RevAir Reverse-Air Dryer for coily textures as it simultaneously dries and straightens with less heat exposure. Remember to work with smaller sections than you would with other hair types, moving methodically from the nape of your neck upward. Always finish with a cool shot from your dryer to seal the cuticle and enhance shine.
Fine Hair Blowout Tricks for Maximum Volume
Fine hair benefits tremendously from strategic blowout techniques that create fullness without weighing down delicate strands. Begin with a volumizing shampoo and lightweight conditioner applied only to the ends to prevent roots from becoming flat. Before blow-drying, apply a root-lifting spray directly to the roots and distribute a small amount of mousse throughout damp hair for additional structure. Using a ceramic round brush is essential for fine hair blowouts – select a medium-sized brush that will create body without overwhelming your hair’s natural weight.
The direction of airflow significantly impacts volume results for fine hair types. For maximum lift, always blow-dry in the opposite direction of how your hair naturally falls. Concentrate on creating volume at the crown by lifting sections straight up while drying. Using Velcro rollers at the crown immediately after blow-drying each section enhances and sets the volume while you complete the rest of your hair. Avoid heavy finishing products that can collapse your newly created volume – instead, opt for a lightweight texturizing spray like Oribe Dry Texturizing Spray for lasting fullness.
Thick Hair Blowout Methods for Smooth Results
Thick hair presents unique challenges when creating smooth, manageable blowouts that last. Start by thoroughly washing and conditioning with products designed for dense hair, focusing on moisture and frizz control. Pre-drying thick hair until it’s about 70% dry before beginning your actual blowout will significantly cut down on styling time and reduce heat exposure. Sectioning becomes crucial with thicker textures – divide your hair into at least 8 manageable sections using sectioning clips to maintain organization throughout the process.
Working with one section at a time, apply a smoothing cream or blow-dry balm to tame unwanted frizz and create slip for your brush. High-powered hair dryers like the BaBylissPRO Nano Titanium Dryer deliver the necessary wattage to effectively manage thick hair. Use a large round brush with boar and nylon bristles to create tension while directing heat downward along the hair shaft. For thicker hair types, maintaining consistent tension throughout each pass is essential for achieving smoothness. Finishing with a small amount of hair oil applied to the mid-lengths and ends will add incredible shine while keeping your blowout looking sleek for days.
Seasonal Blowout Adjustments: From Summer Humidity to Winter Dryness
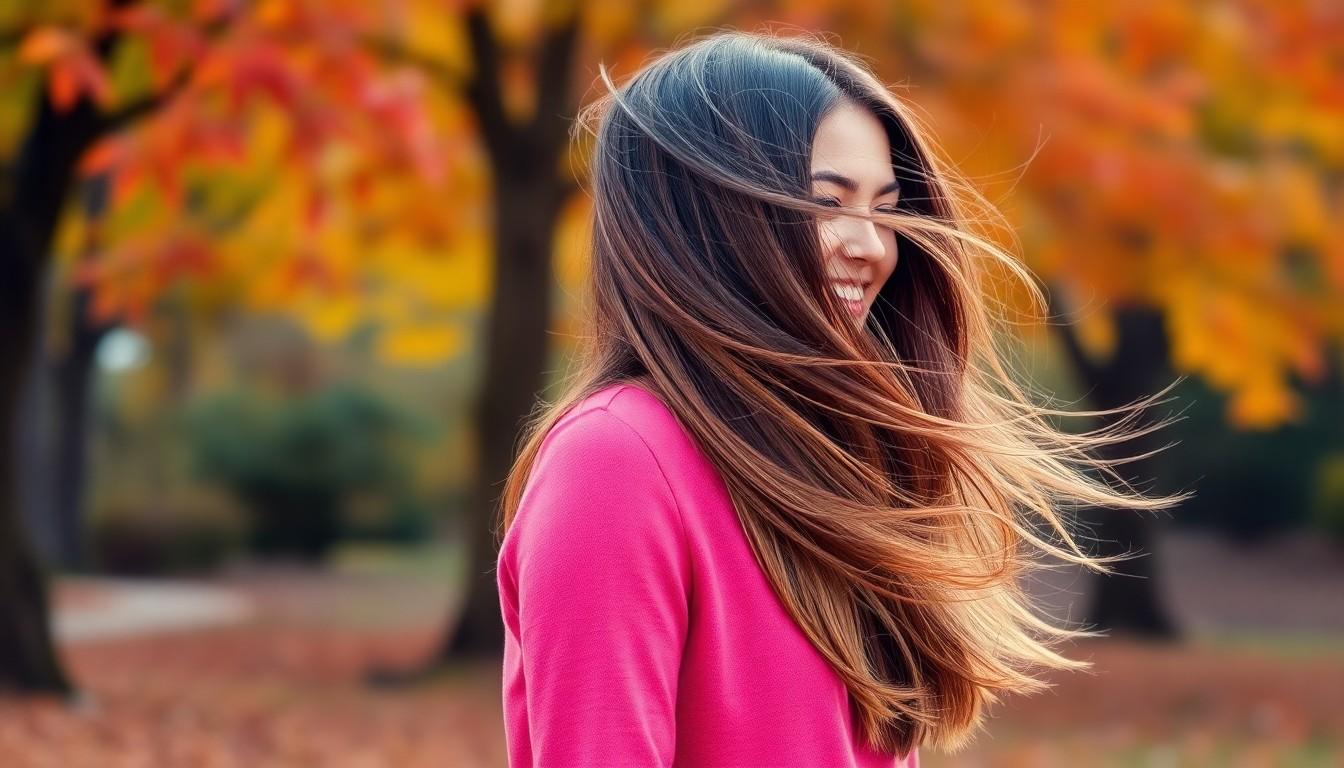
Your blowout technique needs strategic adjustments throughout the year to combat changing weather conditions that affect your hair’s texture and behavior. Seasonal shifts require exact modifications to your styling routine, products, and heat settings to maintain that perfect blowout regardless of what Mother Nature throws your way.
Summer Blowout Strategies
Summer humidity presents unique challenges for maintaining a sleek blowout. High moisture levels in the air can quickly transform even the most polished styles into frizzy disasters within hours.
Anti-humidity sprays create an invisible shield that blocks moisture from penetrating the hair shaft. We recommend applying these products to damp hair before blow-drying to maximize their effectiveness. Temperature control becomes especially crucial during humid months, with medium heat settings providing enough power without causing excess frizz.
Lightweight styling products work best in summer, as heavy formulas combined with humidity can weigh down your blowout. Products like Ouai’s Anti-Frizz Hair Spray or Color Wow Dream Coat deliver exceptional humidity protection without compromising volume or movement.
For beach days or pool outings, protective styles like loose braids or buns can preserve your blowout base, allowing you to refresh only the front sections afterward rather than starting from scratch.
Fall Transition Techniques
Fall weather brings fluctuating conditions that require adaptable blowout approaches. Morning dampness followed by dry afternoons means your hair needs balanced protection against both moisture and dehydration.
Nourishing oils applied to your mid-lengths and ends before blow-drying can prevent the brittleness that occurs during this transitional season. Medium-hold styling products provide enough structure to maintain your style without creating stiffness that can lead to breakage.
Adjusting your blow-drying technique to include more root lifting helps counteract the flattening effect of fall hats and scarves. Concentrated nozzle attachments direct airflow precisely where needed, creating longer-lasting volume at the crown.
Winter Blowout Protection
Winter presents the dual challenges of indoor heating and outdoor cold that can severely deplete hair’s moisture balance. Static electricity becomes a major concern, causing flyaways that disrupt even the most carefully crafted blowouts.
Deep conditioning treatments should become a weekly ritual during winter months to replenish moisture lost to harsh conditions. Leave-in conditioners applied before blow-drying create an essential barrier against the drying effects of indoor heating systems.
Lower heat settings combined with longer drying times protect hair integrity during winter, when strands are particularly vulnerable to breakage. Ionic dryers prove especially valuable in colder months, as they neutralize static electricity while sealing the cuticle for enhanced smoothness.
Spring Revival Methods
Spring’s unpredictable weather patterns require flexible blowout techniques that can adapt to sudden rain showers or temperature fluctuations. Returning moisture in the air means adjusting your approach from winter’s intensive hydration to more balanced formulations.
Volumizing mousses applied at the roots help counteract the deflating effects of light spring showers. Quick touch-up techniques become essential during this season, with strategic use of a concentrator nozzle to refresh only the areas affected by moisture.
Weather-responsive products containing flexible polymers maintain your blowout’s integrity while allowing natural movement. These advanced formulations respond to humidity levels, tightening their hold when moisture increases and relaxing when conditions normalize.
6 Common Blowout Mistakes and How to Avoid Them
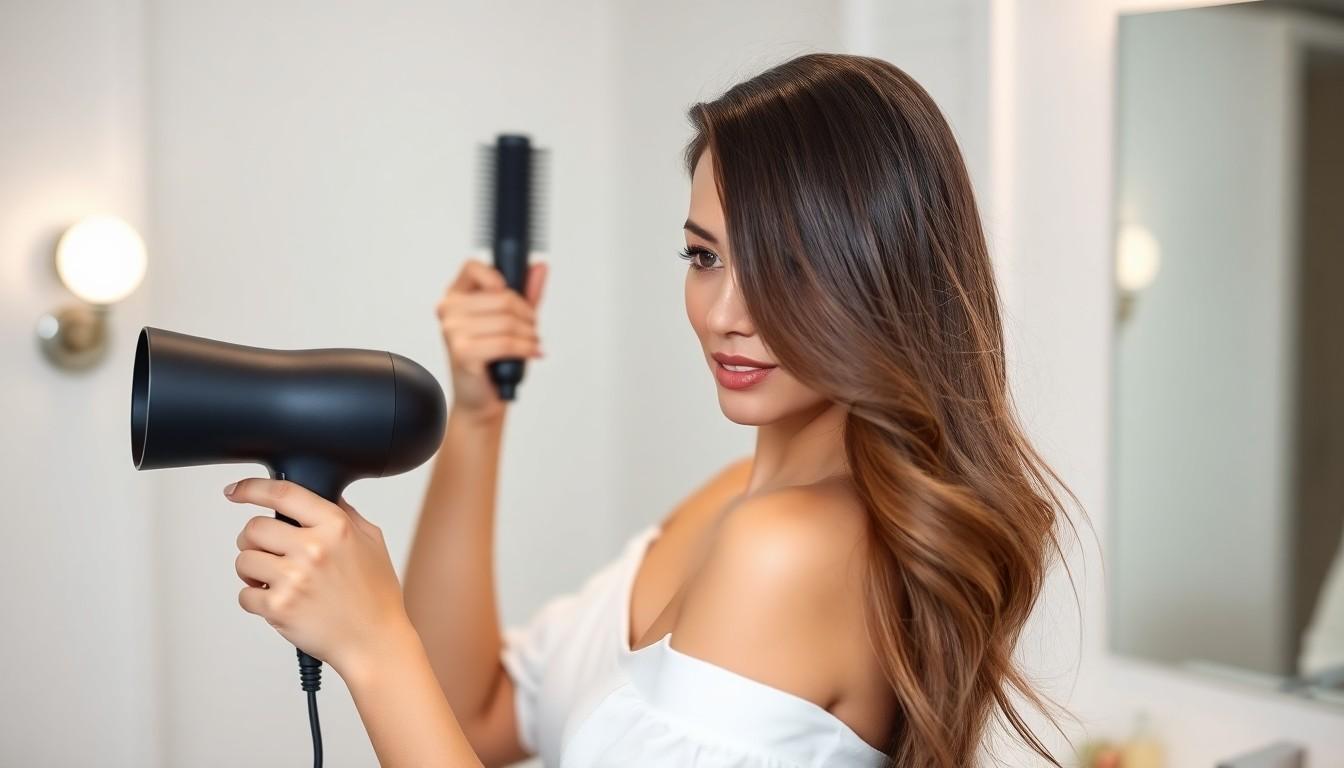
1. Using the Wrong Brush Size
Many women reach for whatever brush is available without considering how brush size affects their blowout results. Using a brush that’s too small for long hair can significantly extend drying time, while using one that’s too large for short styles makes precision styling nearly impossible. We recommend selecting brushes based on your desired finish: smaller brushes (1-1.5 inches) create tighter curves, medium brushes (1.5-2 inches) offer versatile styling options, and larger brushes (2+ inches) deliver smoother, straighter results. Always match your brush diameter to your hair length and the amount of bend you want in your finished style.
2. Skipping Heat Protectant
Blasting wet hair with high heat without protection is one of the fastest ways to damage your strands. Heat protectants create a crucial barrier between your hair and the dryer’s intense temperature. Before beginning your blowout, apply a quality heat protectant spray or cream evenly throughout damp hair. Products like Redken Pillow Proof Primer or Living Proof Restore Instant Protection offer excellent thermal defense while improving your blowout’s longevity. Remember that even high-quality dryers can cause damage if proper protection isn’t applied first.
3. Blow-Drying Soaking Wet Hair
Starting your blowout when hair is dripping wet wastes energy, time, and increases potential heat damage. Hair should be towel-dried to about 60-70% dry before you begin styling with a dryer. Pre-drying techniques make a tremendous difference in your results – gently squeeze excess moisture with a microfiber towel or cotton t-shirt rather than rubbing vigorously. Many professional stylists recommend rough-drying hair with fingers until it’s about 80% dry before using a round brush for the final styling phase.
4. Incorrect Temperature Settings
Consistently using the highest heat setting damages hair over time and can actually work against achieving a smooth, polished blowout. Different hair types require different temperature settings for optimal results. Fine or damaged hair needs low to medium heat to prevent breakage, while thick or coarse hair can tolerate higher temperatures. Adjusting your dryer’s heat settings based on your exact hair type protects your strands while ensuring effective styling. Professional-grade dryers with multiple heat settings give you the flexibility to customize your blowout experience.
5. Poor Sectioning Technique
Haphazard sectioning leads to inconsistent results and often forces you to repeatedly go over the same sections of hair. Creating methodical, manageable sections is fundamental to a successful blowout. Start by dividing your hair into at least four quadrants (top, crown, and sides), then work with 1-2 inch subsections within each quadrant. Secure unused sections with clips to keep them out of the way. Systematic sectioning ensures each strand receives equal attention and heat distribution, resulting in a more uniform, longer-lasting blowout that looks professionally done.
6. Removing the Brush Before Cooling
Pulling the brush out of your hair while it’s still hot undermines the setting process critical for long-lasting results. After applying heat to a section, allow the hair to cool completely on the brush before releasing it. This cooling phase sets the hair’s shape and dramatically extends your blowout’s lifespan. For maximum hold, blast each wrapped section with the cool shot button on your dryer before removing the brush. Professional stylists often use this technique to create blowouts that maintain their bounce and volume for days rather than hours.
Professional Blowout Services: What to Ask For at the Salon
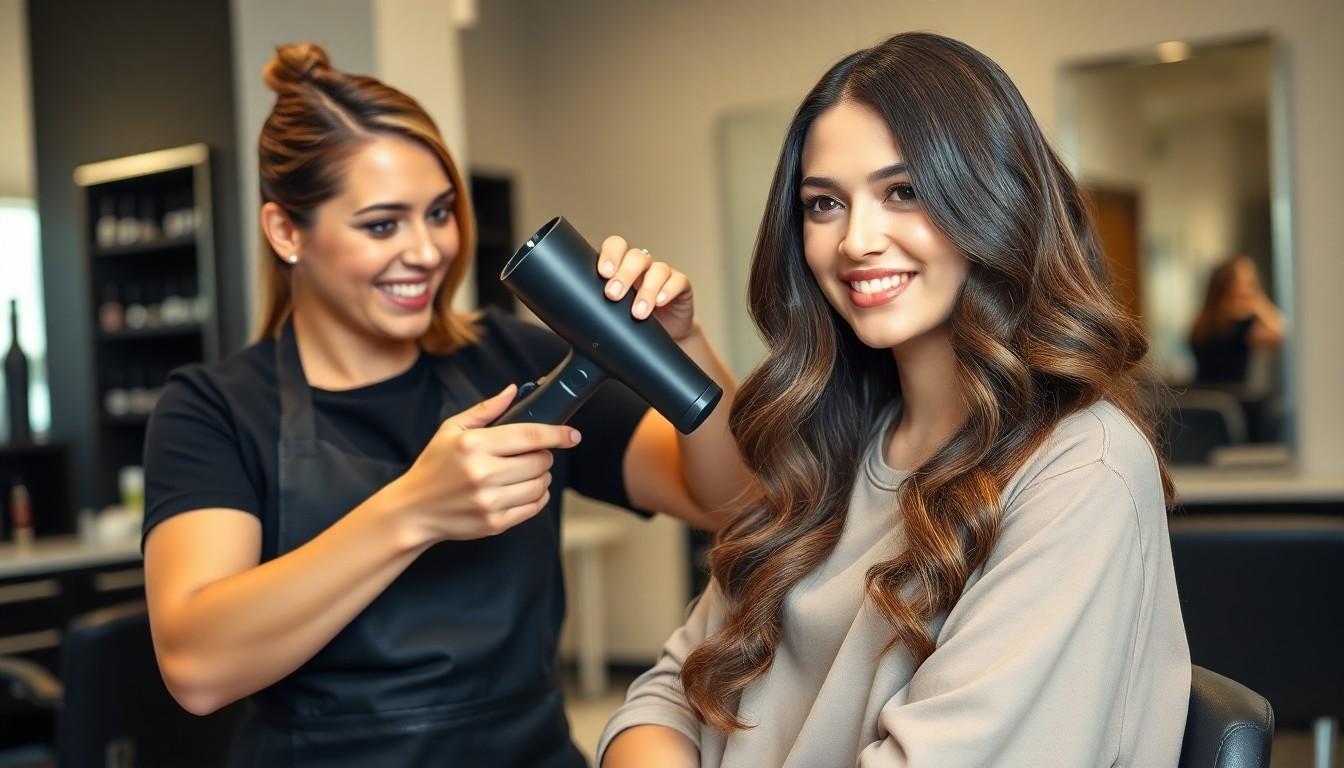
Visiting a salon for a professional blowout can deliver results that are difficult to achieve at home. Knowing exactly what to request ensures you’ll walk out with your desired look instead of a style that falls flat. We’ve compiled the essential information to help you communicate effectively with your stylist and get the blowout of your dreams.
Consultation Essentials
Communication is key when discussing your blowout goals with a salon professional. Always bring reference photos of styles you love, as visual examples eliminate confusion and set clear expectations. Your stylist should assess your hair texture, density, and current condition before beginning the service. Be upfront about any hair concerns like damage, scalp sensitivity, or previous chemical treatments so they can adjust their approach accordingly. A proper consultation typically takes 5-10 minutes but saves time and potential disappointment later.
Popular Blowout Styles to Request by Name
Stylists often have shorthand terms for different blowout techniques, making it easier to request exactly what you want. Ask for the “Manhattan” if you desire sleek, straight hair with minimal volume. Request a “Bombshell” for dramatic volume and sexy curves reminiscent of Victoria’s Secret models. The “Old Hollywood” delivers polished waves with glamorous shine, while the “Beachy Blowout” creates casual, undone waves with texture. For those seeking natural-looking volume, the “Weekend Ready” blowout offers effortless bounce without appearing too styled. Mentioning these industry terms helps stylists immediately understand your vision.
Product Preferences and Concerns
Professional stylists use multiple products during a blowout service that significantly impact the final result. Express any product sensitivities or allergies before they begin working. Request lightweight products if your hair gets weighed down easily or more hydrating options for dry, damaged strands. Discuss your volume goals so appropriate volumizing mousses or root sprays can be applied. Ask about heat protectants being used to ensure your hair stays healthy. Many salons offer premium product upgrades for an additional fee that can enhance results for exact hair types.
Customization Options to Consider
A truly personalized blowout addresses your unique hair challenges and lifestyle needs. Request extra scalp massages during shampooing if you enjoy that relaxing element. Ask about adding treatments like gloss or deep conditioning for enhanced shine and health. Discuss modifications for your face shape, such as more volume at the crown for round faces or side-swept styles for heart-shaped faces. Consider how long you need the style to last and request exact techniques that extend longevity. The most satisfied clients know that customization options significantly improve their blowout experience.
Questions About Technique and Tools
Understanding the tools and techniques your stylist uses helps you learn how to maintain your style at home. Ask which brush size they recommend for your hair length and desired results. Inquire about the temperature settings they’re using so you can replicate similar heat levels. Request information about their sectioning technique, as proper sectioning is often the key difference between professional and amateur results. Many stylists will demonstrate techniques you can use at home if you express interest. Learning about their process educates you for future at-home styling attempts.
Maintenance Advice to Request
Before leaving the salon, get expert advice on maintaining your beautiful blowout. Ask about sleeping techniques to preserve your style overnight, such as exact ways to pin or wrap your hair. Request product recommendations for touch-ups between washes. Discuss how humidity affects your exact hair type and what products combat frizz in your climate. Inquire about proper brushing techniques that won’t destroy the style. Most stylists are happy to provide these maintenance tips that can extend your blowout from 3 days to nearly a week.
Conclusion: Perfecting Your Personal Blowout Style
Blowout hairstyles continue to reign supreme in women’s hair styling for good reason. They’re versatile enough for any occasion while delivering that coveted volume and polished finish we all desire.
Whether you’re creating a sleek professional look or channeling celebrity-inspired glamour there’s a blowout technique perfect for your hair type and lifestyle. With the right tools techniques and maintenance strategies you’ll be able to achieve salon-quality results at home.
Remember that perfecting your blowout is a journey. Experiment with different styles adapt to seasonal changes and don’t be afraid to communicate your vision when visiting professionals. Your perfect blowout isn’t just about following trends—it’s about finding what makes you feel confident and beautiful every day.
Frequently Asked Questions
What exactly is a blowout hairstyle?
A blowout is a professional hair drying technique that creates smooth, voluminous hair without using curling irons or straighteners. It involves strategic sectioning, precise brush work, and controlled heat application to transform flat hair into bouncy, polished styles that can last 3-5 days with proper maintenance.
How long does a blowout typically last?
A well-executed blowout typically lasts 3-5 days with proper maintenance. To extend its lifespan, sleep on silk pillowcases, use a loose bun secured with a silk scrunchie overnight, and apply dry shampoo strategically to absorb oil before it becomes visible.
What tools do I need for an at-home blowout?
Essential tools include a professional-grade hair dryer (like Dyson Supersonic or T3 Cura LUXE), round brushes of various sizes (brands like Olivia Garden or Drybar are recommended), sectioning clips, a heat protectant product, and finishing products like serums or light hairsprays.
Can I get a blowout with curly or coily hair?
Absolutely! Curly and coily hair requires specific techniques including hydrating products, detangling with a wide-tooth comb, and employing the tension method with a round brush. When done correctly, blowouts can temporarily transform curly textures while minimizing damage.
What’s the difference between a ’90s supermodel blowout and a sleek blowout?
The ’90s supermodel blowout focuses on maximum volume and bounce with dramatic root lift and outward-curved ends. In contrast, the sleek and straight power blowout aims for polished, smooth hair with minimal volume and perfectly straight ends, creating a more professional, controlled look.
How should I prepare my hair before a blowout?
Start with thoroughly cleansed hair using a shampoo appropriate for your hair type. Apply conditioner primarily to mid-lengths and ends. After washing, gently towel-dry until damp (not soaking wet), apply heat protectant evenly throughout, and use any volumizing or smoothing products based on your desired finish.
What are the most common mistakes people make when doing blowouts?
Common mistakes include using the wrong brush size for your hair length, skipping heat protectant, blow-drying soaking wet hair, using incorrect temperature settings, poor sectioning technique, and removing the brush before hair has cooled. Addressing these issues significantly improves blowout results.
How do I maintain a blowout in humid weather?
In humid conditions, use anti-humidity products with ingredients like silicones or anti-frizz polymers before styling. Apply a lightweight finishing spray with hold after completing your blowout. When outdoors, use a silk scarf or hat for protection, and keep a travel-size anti-humidity spray for touch-ups.
How do I communicate what I want to my stylist for a salon blowout?
Bring reference photos of your desired style, be specific about volume and texture preferences, and mention any hair concerns. Use style names like “Manhattan” for sleek looks or “Bombshell” for dramatic volume. Discuss product sensitivities and maintenance needs to ensure your expectations are aligned.
Can fine hair achieve a voluminous blowout?
Yes! Fine hair can achieve impressive volume with the right techniques. Use volumizing products at the roots, blow-dry against the natural fall of the hair for added lift, opt for medium-sized round brushes rather than large ones, and finish with a lightweight volumizing spray instead of heavy products.


